
Composting is an eco-friendly way to reduce waste and create nutrient-rich soil for your garden. If you’re new to composting, it might seem a bit daunting at first, but with the right tips and a little patience, you can easily start composting at home. This guide will walk you through the basics and help you set up a successful compost bin or pile.
Why Compost at Home?
Composting helps reduce the amount of organic waste sent to landfills, which lowers greenhouse gas emissions. It also produces a natural fertilizer that improves soil structure, retains moisture, and provides nutrients to plants. Plus, composting is a rewarding way to connect with nature and practice sustainability.
—
Getting Started: What You Need
Before you dive into composting, it’s helpful to understand the essentials. Here’s what you’ll need:
– Compost container or pile: You can use a bin, tumbler, or simply make a pile in your backyard.
– Organic materials: Kitchen scraps, yard waste, and other compostable items.
– Water: To keep your compost moist but not soggy.
– Air: Oxygen helps break down the materials faster.
—
What Can You Compost?
Composting works best when you balance “green” and “brown” materials.
Green materials (rich in nitrogen)
– Fruit and vegetable scraps
– Coffee grounds and tea bags
– Grass clippings
– Fresh garden trimmings
Brown materials (rich in carbon)
– Dry leaves
– Straw or hay
– Shredded newspaper or cardboard
– Wood chips or sawdust
Avoid composting meat, dairy, oily foods, and pet waste, as they can attract pests or cause odors.
—
Step-by-Step Composting Tips for Beginners
1. Choose Your Composting Method
– Compost bin: Good for small spaces and keeps things neat.
– Compost pile: Works well for larger yards.
– Tumbler: A sealed container that you can rotate, speeding up the process.
2. Pick a Location
Select a shady, well-drained spot that’s easy to access. Avoid areas too close to your home to prevent attraction of pests.
3. Build Your Compost Layer by Layer
Start with a layer of coarse materials like twigs or straw for good airflow. Then alternate green and brown layers to balance moisture and nitrogen.
4. Keep It Moist
Your compost should feel like a wrung-out sponge—damp but not soaking wet. Water the pile if it gets dry, especially in hot weather.
5. Turn the Pile Regularly
Turning the compost every one to two weeks introduces oxygen and speeds up decomposition. Use a garden fork or compost aerator.
6. Be Patient
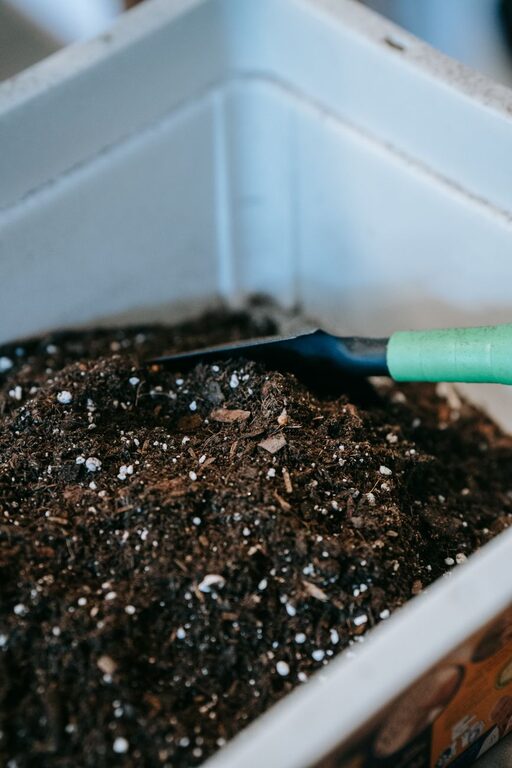
Composting can take anywhere from a few weeks to several months. Finished compost looks dark, crumbly, and smells earthy.
—
Troubleshooting Common Issues
– Bad odor: Usually means too much green material or not enough air. Add brown material and turn the pile.
– Pile is dry: Add water and green materials.
– Pests: Avoid adding meat or dairy. Keep food scraps covered with brown materials.
– Slow decomposition: Chop or shred materials into smaller pieces and turn the pile regularly.
—
Using Your Finished Compost
Once your compost is ready, spread it over your garden beds, use it as mulch, or mix it into potting soil. Compost adds valuable nutrients and improves soil texture, helping plants grow stronger and healthier.
—
Final Thoughts
Home composting is a simple, effective way to reduce waste and support your garden’s health. Remember to balance your green and brown materials, keep your compost moist and aerated, and be patient. With these beginner tips, you’re well on your way to creating your own nutrient-rich compost at home.
Happy composting!